Drivers
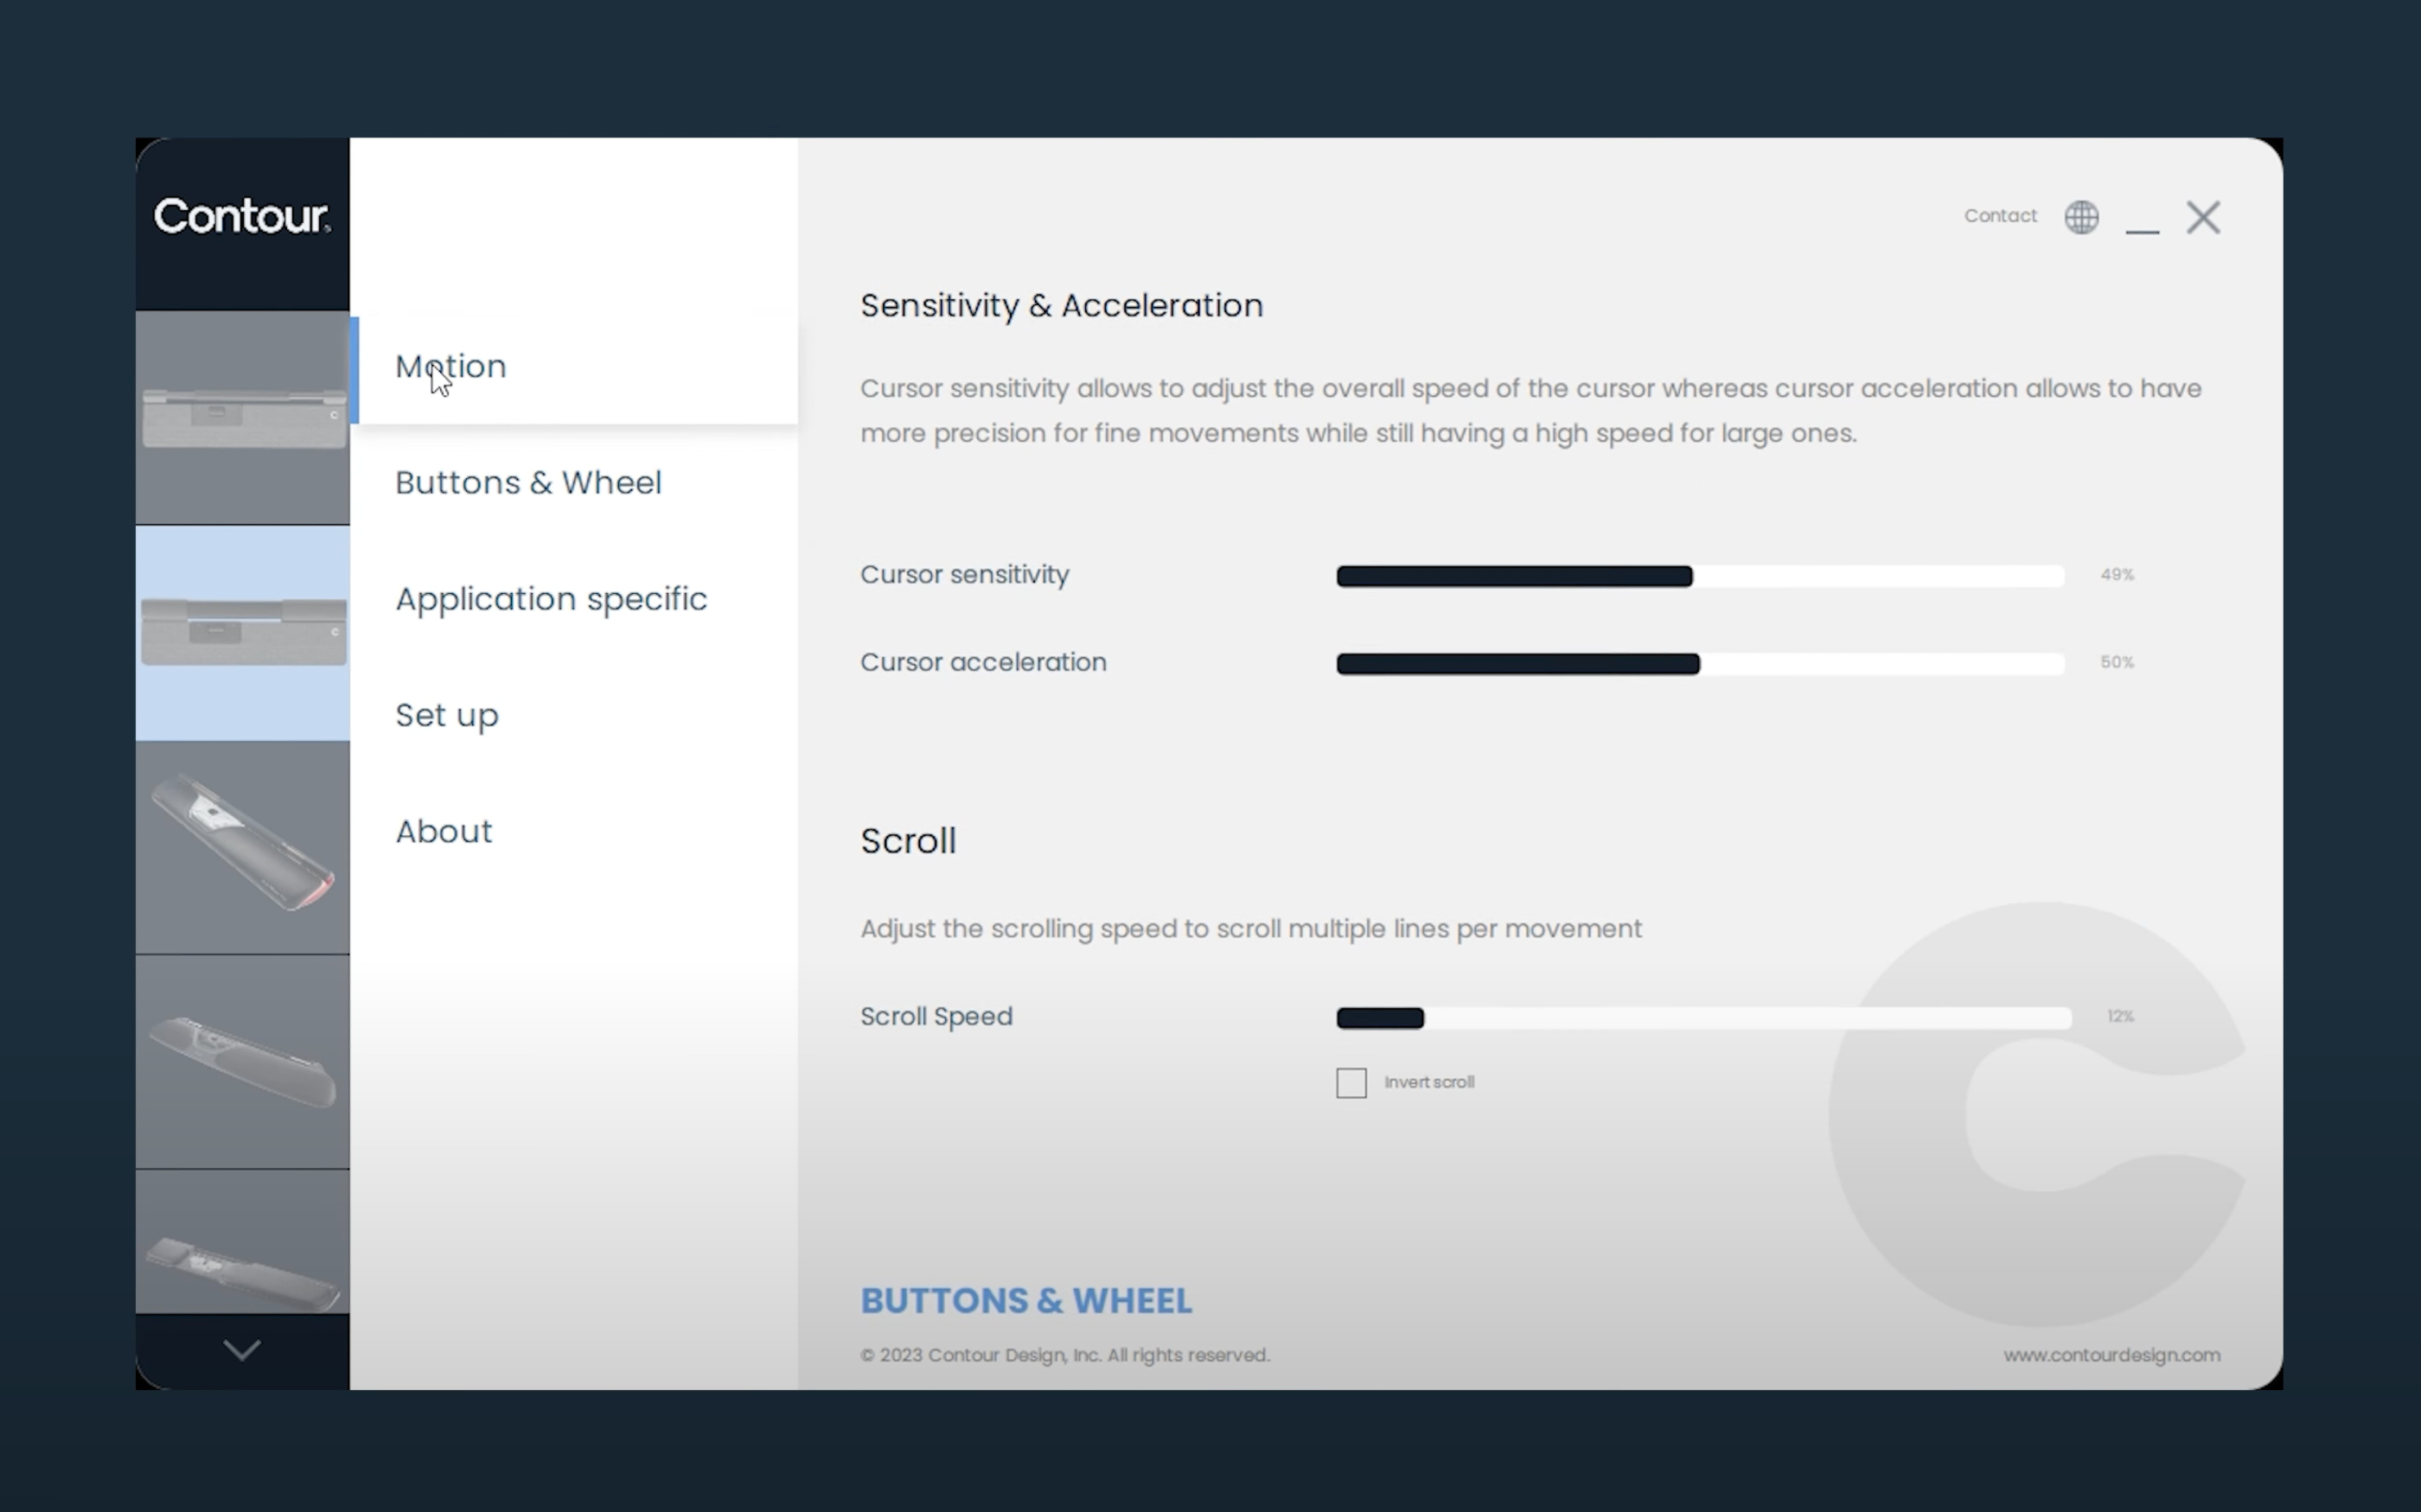
All our ergonomic mice and keyboard are plug-and-play. If you want to adapt the buttons’ functions and unlock the products' full potential, we have drivers available via the links below.

Please follow the steps below carefully to properly uninstall any previous Contour Mouse drivers, and install the latest driver.
Mouse driver installation – Windows and macOS
Windows (Mac instructions below):
1. Close the Contour Mouse Software, if it is open.
2. If applicable, uninstall the old contour driver software using the standard way of uninstalling apps and software on Windows. Should you be unsure about how to do this correctly, please follow the steps in Microsofts documentation: https://support.microsoft.com/en-us/windows/uninstall-or-remove-apps-and-programs-in-windows-4b55f974-2cc6-2d2b-d092-5905080eaf98).
3. The Contour Mouse software will ask you to reboot. Please save any open documents, and proceed.
4. Double-click the Contour Mouse file located in the Downloads folder (or your custom default location for downloads), and follow the steps in the installation process.
5. The Contour Mouse software will ask you to reboot one final time. Again, please save any open documents, and proceed.
6. After reboot, feel free to start using the software. It should start automatically with starting the computer the first time after installation, but will not do so after future reboots and boot-ups.
Mac:
Please follow the steps below carefully to properly uninstall any previous Contour Mouse drivers, and install the latest driver. These steps differ from previous instructions we have provided for earlier versions of macOS.
1. Disconnect any Contour device connected to the Mac.
2. Uninstall the Contour Mouse driver, like you would any other application (e.g.: from "applications" menu, drag it to the bin)
3. Restart the Mac.
4. Open the Contour Mouse disk image (.dmg file) that you downloaded from our web page. If you received the disk image by email, do not double-click it inside Mail. Move it to the Desktop first, then open it.
5. Find the Contour Mouse app in the disk image and drag it to the Applications folder.
6. Open the Contour Mouse app located in the Applications folder.
7. When the System Extension Blocked warning pops up, click Open Security Preferences.
9. For older OS versions: Click the yellow lock at the bottom left corner of the System Preferences window/Ventura: You will be asked if you want to open it. Click yes
10.
10. a) For older OS versions: Enter your password. You must be in an administrator account to install the driver. Click the Allow button next to “System software from application Contour Mouse was blocked from loading”.
10. b) For Ventura: click in the next window on "open system settings">"ok">under security: "Details">enter your password>click on the toggle next to "Contour Design Mouse">"Allow"
11. Restart your Mac one last time, and enjoy your new Contour device!
macOS Shuttle driver
First, make sure of the following:
1. You are using the latest/newest version of thedriver (found above)
2. You have set permissions correctly:ForSequoia:
- Navigate to System Settings → General → Login Items & Extensions.
- Here you will find the Contour App, and toggle it to ON.
- Next you will find the "Driver Extensions" section, click on the(i) information tap. This will open a window with another slider that needs tobe turned on.
If you are using the latest MacOS – Tahoe (OS26), please follow thisguide as well:
Rosetta 2 Installation Guide:
Rosetta 2 is essential for running Intel-based applications on Apple Silicon Macs (M1, M2, M3, M4 and M5). This quick reference guide explains why it is needed, how to install it, and troubleshooting tips.
Why Rosetta 2?
• Acts as a bridge between Intel-based applications and Apple Silicon.
• Translates Intel x86 code into ARM instructions in real time.
• Ensures older Intel apps run smoothly on new Macs.
Installation Methods:
1. Manual Installation via Software Update:
- Open System Settings → General → Software Update.
- Click Install next to Rosetta 2.
- Follow the on-screen instructions.
2. Manual Installation via Terminal:
- Open Terminal (Applications → Utilities).
- Run: softwareupdate --install-rosetta
- Enter your admin password if prompted.
- Wait for installation to complete.
3. Automatic Installation:
- Launch an Intel-based app without a native version.
- MacOS will prompt you to install Rosetta 2 automatically.
- Click Install and MacOS handles the rest.
How to Verify Installation:
Go to Apple Menu → About This Mac → System Report → Software → Installations,and check for 'RosettaupdateAuto'
Troubleshooting tips:
- Ensure a stable internet connection.
- Mac must be running MacOS BigSur or later.
- Restart your Mac if you face issues.
- Try alternative installation methods if one fails.
- Refer to beginner Terminal guides if unsure.
